
How to replace the Fuser Assembly for Lexmark MS821
Click here to view video version
Unsure how to replace the fuser assembly in your Lexmark MS/MX 821, 822, or 823? We'll show you step by step how to do this necessary maintenance to keep your unit running smoothly.
The following tutorial is for these models:
Lexmark XM7370, XM7355, MX826ade, MX822adtfe, MX826adtfe, MX826adxe, MS823dn, MS823n, MS821dn, MS822de, MS821n, MX822adxe, MX822ade, XM5370, XM5365, MX721adhe, MX722ade, MX721ade, MX722adhe, MB2770adhwe, MS825dn, MS826de, B2865dw, M5255, M5270
WHEN DO YOU NEED TO REPLACE THE FUSER ASSEMBLY?
If you're getting error messages, this may indicate it's time to replace the Fuser Assembly. Listed here are all the errors that indicate a problem:
Maintenance kit nearly low [80.0x], Maintenance kit low [80.1x], Maintenance kit very low, 2000 estimated pages remain [80.2x], Maintenance kit low, 0 estimated pages remain [80.3x], Maintenance kit very low, 0 estimated pages remain [80.4x] - The control panel displays an 80.xx error at required maintenance intervals. It is necessary to install the appropriate maintenance kit to maintain the print quality and reliability of the printer. After replacing the maintenance kit, the maintenance count will automatically be reset to zero to clear the 80.xx error. For 86.xx errors, the ADF maintenance count must be manually reset.
121.XX (.00 to .83) Fuser temperature error service check- If you get any of these errors, the fuser did not reach the required temperature. Fuser hardware and driver are mismatched. Check the fuser for proper installation, power off and on.
STEP-BY-STEP GUIDE: REPLACING THE FUSER ASSEMBLY
Prior to starting, it is imperative to remember to power off the device and disconnect from its power source at the back.
This step-by-step tutorial will further break down the steps to remove and replace a Fuser Assembly for the Lexmark MS/MX321. Let’s begin!
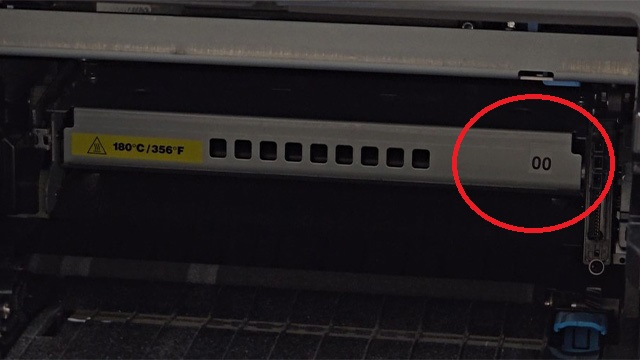
STEP ONE: IDENTIFY FUSER TYPE
From the front of the printer, open the front door and remove the toner cartridge and imaging unit. Then find the two-digit number to identify the fuser type. Please be sure to install the correct fuser to your printer.
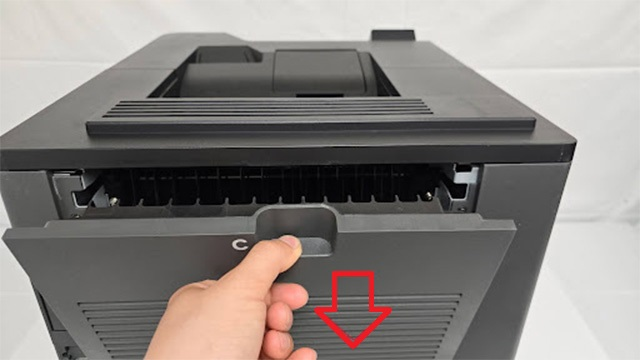
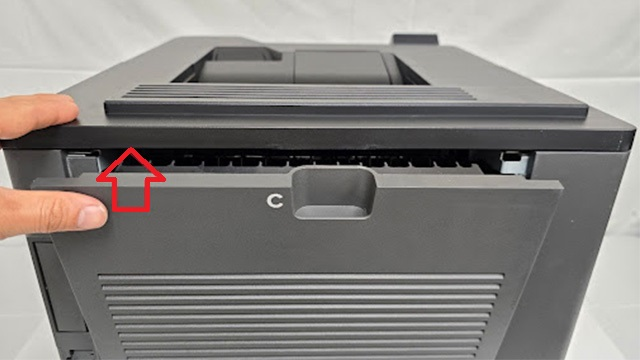
STEP TWO: OPEN REAR DOOR
Once your fuser has been identified, open the back door from the rear of the printer.
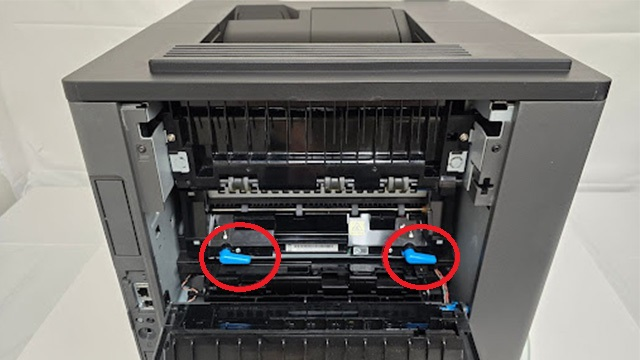
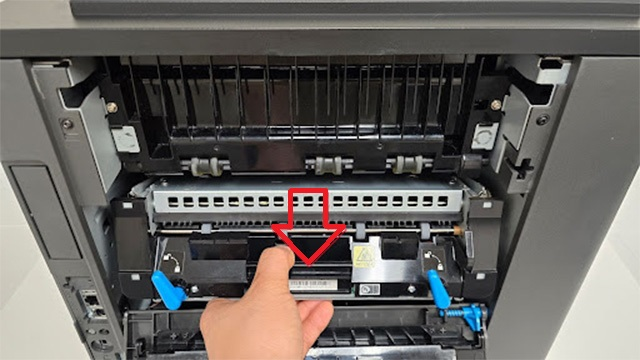
STEP THREE: ROTATE LATCHES
With the rear door open, you can rotate the two latches into a counterclockwise position to release the fuser.
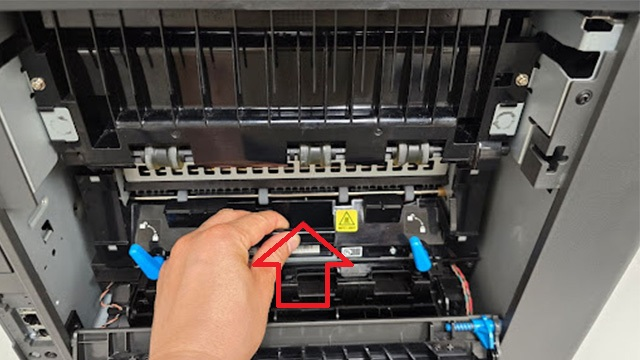
STEP FOUR: REMOVE FUSER
Pull outward to remove the fuser.
STEP FIVE: INSERT NEW FUSER
Next you can reinsert the new fuser into the printer.
STEP SIX: LOCK FUSER LATCHES
Once the fuser is in place, turn the two latches clockwise to lock it.
STEP SEVEN: CLOSE REAR DOOR
Now you can close the rear door.

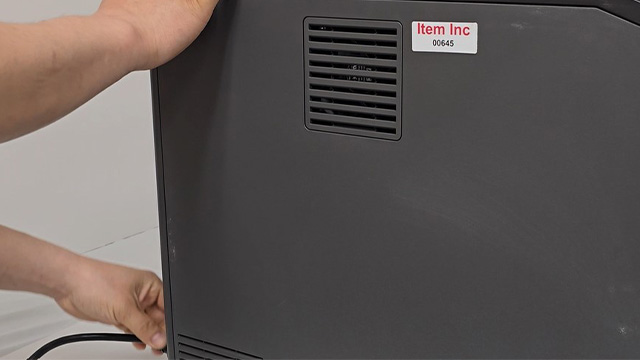
STEP EIGHT: RECONNECT POWER
Reconnect the power cord and turn the printer on to see if the error message has disappeared.
ORDER YOUR REPLACEMENT PARTS TODAY!
Congratulations! You’ve learned how to successfully and adequately replace the Fuser Assembly for the Lexmark MS/MX 821, 822, 823!
41X1115 - Lexmark – Fuser, 110V
41X2352 - Lexmark – Roller Maintenance Kit
FOLLOW US ON YOUTUBE FOR MORE TUTORIALS
Thank you for completing this step-by-step tutorial! We hope you found it useful. Remember to stay connected with us by following our YouTube channel and subscribing for more important content. We would love to hear from you, so please leave a comment.
Click here to view Item, Inc. YouTube channel.
NEED MORE HELP?
If you need more assistance, contact us. For sales, repair, or unsure about a part, call us, use our chat feature, or email us. We're here to help in any way!