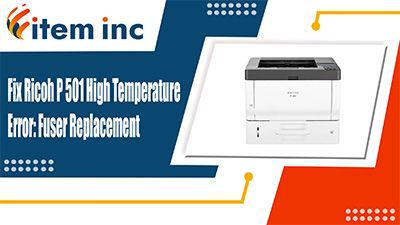
Fix Ricoh P 501 High Temperature Error: Fuser Replacement

Click here to view video version
Struggling to replace the Fuser Unit in your Ricoh P 501? Our detailed guide simplifies the process, ensuring your printer stays up and running smoothly.
The following tutorial is for these models:
IM 350F, IM 430F, IM 430Fb, P 501, P 502
When Do You Need to Replace the Fuser Unit?
If you're getting error messages, this may indicate it's time to replace the fuser unit. Listed here are all the errors that indicate a problem:
SC542-01 Temperature gradient detection at the center of the hot roller
SC542-03 No reload temperature (timeout at the center of the hot roller)
SC543-00 High-temperature software error (center)
SC544-00 High-temperature (center) hardware error
SC545-00 Fusing lamp (center) remains ON
Step-by-Step Guide: Replacing the Fuser Unit
Prior to starting, it is imperative to remember power off the device and disconnect from its power source at the back.
This step-by-step tutorial will further break down the steps to remove and replace the fuser unit for the Ricoh P 501. Let’s begin!
Step One: Power Off Printer
Turn the printer off and disconnect the power cord.

Step Two: Open Rear Cover
Next, open the rear door assembly.

Step Three: Remove Old Fuser
Locate the green levers found on the left and right side of the fuser. Then by pinching the green levers on the handle, remove the fuser unit.

Step Four: Install New Fuser
Carefully slide in the new fuser until you hear it lock in place.

Step Five: Close Rear Cover
Close the rear door assembly.

Step Six: Turn On Printer
Finally, reconnect the power cord and turn the printer on.

Order Your Replacement Parts Today!
Order the replacement parts needed for this step-by-step tutorial right here:
D0A44017, D0A4-4017, D0A44018, D0A4-4018 - Ricoh P 501 Fuser Unit, 110V
Follow Us on YouTube for More Tutorials
Thank you for completing this step-by-step tutorial! We hope you found it useful. Stay connected with us by following our YouTube channel and subscribing for more valuable content. We would love to hear from you, so please leave a comment.
Click here to view Item, Inc. YouTube channel.
Need More Help?
If you need more assistance, contact us. For sales, repair, or unsure about a part, call us, use our chat feature, or email us. We're here to help in any way!
