
Fix HP M452 Print Defects and Internal Errors: Complete Fuser Unit Replacement
Having trouble replacing the Fuser Unit in your HP M452? Our step-by-step guide will help you maintain smooth printer operation with ease.
The following tutorial is for these models:
Color LaserJet Managed E45028dn
Color LaserJet Pro M452dn
Color LaserJet Pro M452dw
Color LaserJet Pro M452nw
Color LaserJet Pro M454dn
Color LaserJet Pro M454dw
Color LaserJet Enterprise M455dn
Color LaserJet Managed MFP E47528f
Color LaserJet Pro MFP M377dw
Color LaserJet Pro MFP M477fdn
Color LaserJet Pro MFP M479fdw
When Do You Need to Replace the Fuser Unit?
If you're getting error messages, this may indicate it's time to replace the fuser unit. Listed here are all the errors that indicate a problem:
50.00 = Generic Fuser error
50.10 = Low Fuser temperature error
50.11 = High sub thermistor area 3 fuser error
50.12 = Low sub thermistor area 3 fuser error
50.20 = Slow fuser error
50.30 = High fuser temperature error
50.40 = Fuser drive circuit error
50.70 = Fuser open error
50.80 = Low sub thermistor fuser error
50.90 = High sub thermistor fuser error
Step-by-Step Guide: Replacing the Fuser Unit
Prior to starting, it is imperative to remember power off the device and disconnect from its power source at the back.
This step-by-step tutorial will further break down the steps to remove and replace the fuser unit for the HP M452. Let’s begin!
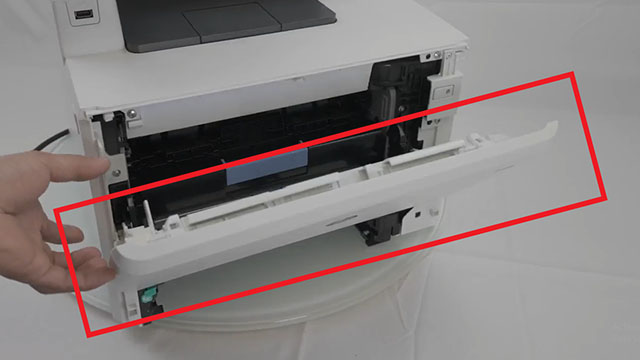
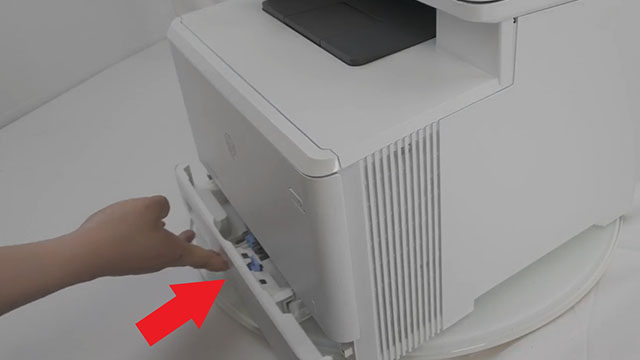
Step One: Remove Paper Tray
To begin, remove the paper tray.

Step Two: Open Front Door Assembly
Open the front door assembly.
Step Three: Open Rear Door Assembly
Then, open the rear duplexing door assembly.
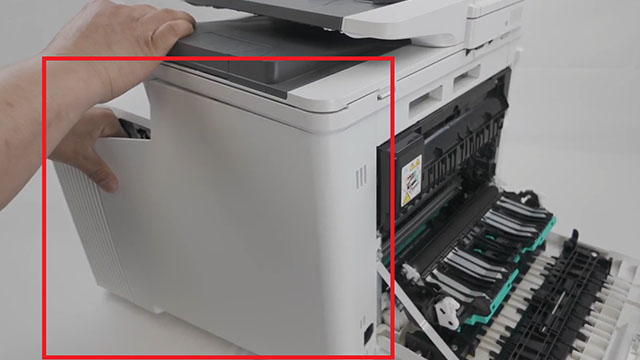
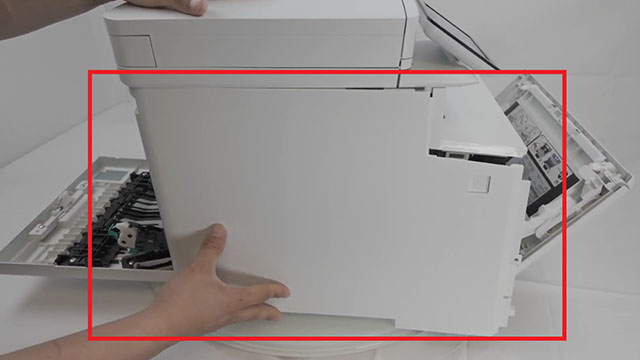
Step Four: Remove Right Cover
Begin taking off the right cover by removing the screws at the front and rear. Next, release the locking tabs on the front, bottom, and rear to loosen the cover. Utilize a pick tool or flat-head screwdriver to carefully disengage each tab. As you release the tabs, gently pull the cover off, using this method around all sides for full removal.
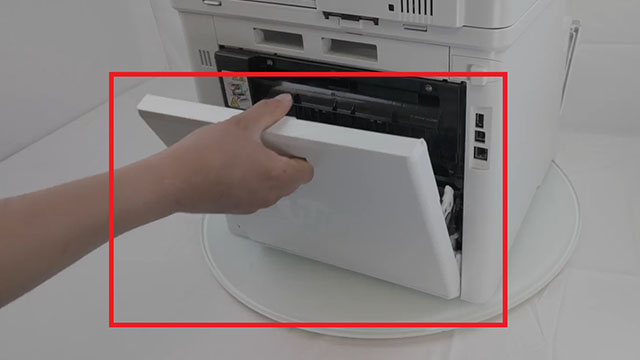
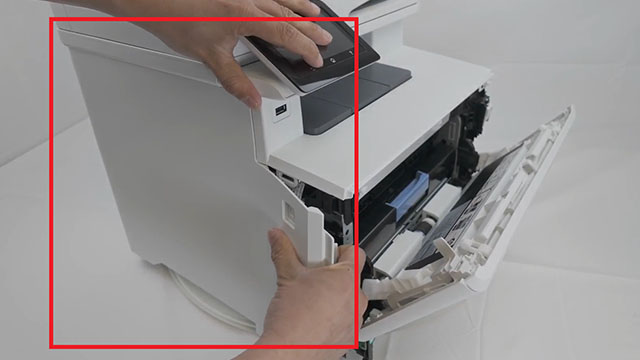
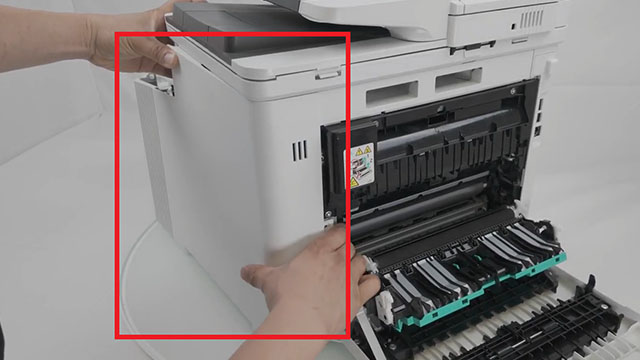
Step Five: Remove Left Cover
Next, start taking off the left cover by removing the screw at the front. Then, release the locking tabs at the front, bottom, and rear to free the cover. To assist with this, use a pick tool or flat-head screwdriver to carefully disengage each tab. As you release each one, gently pull the cover off. Follow this method on all sides for full removal.
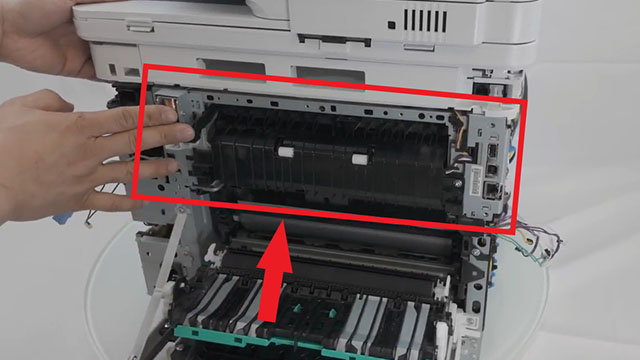
Step Six: Remove Fuser Guide
Using a Phillips screwdriver, remove the fuser guide by unscrewing the four screws.

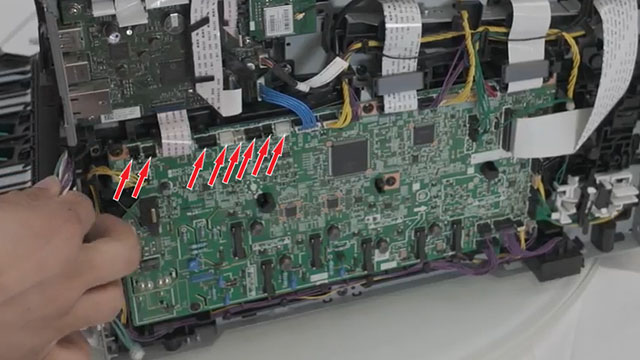
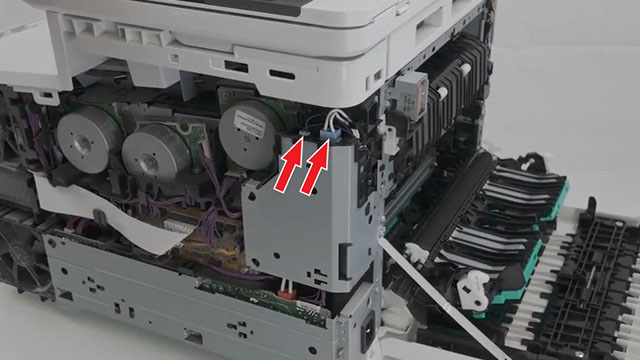
Step Seven: Disconnect Fuser Cables
Next, disconnect the two fuser cables on the left and eight on the right.
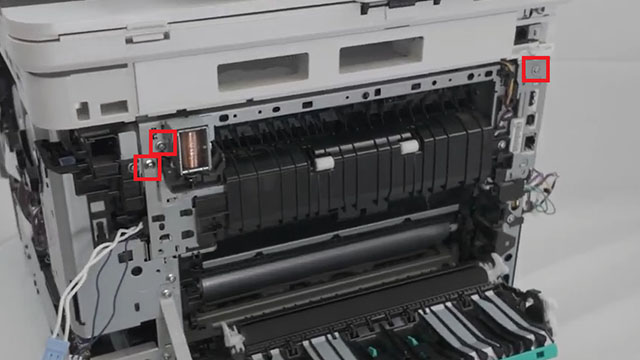
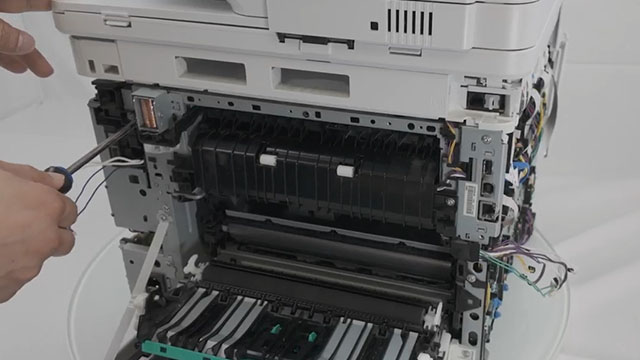
Step Eight: Remove Fuser Screws
Using a Phillips screwdriver, unscrew the three screws holding the fuser.
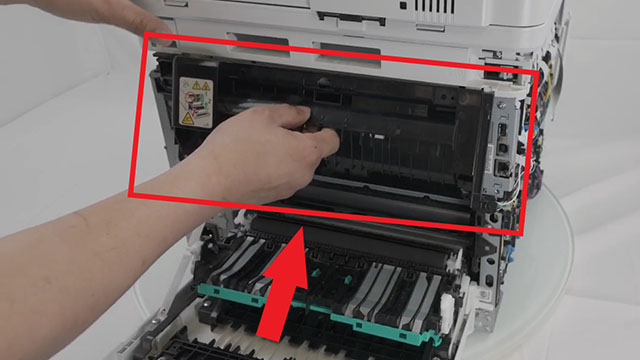
Step Nine: Remove Old Fuser
Then, Carefully slide out the old fuser.
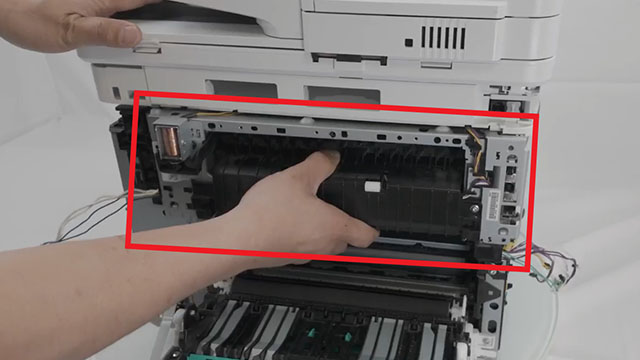
Step Ten: Install New Fuser
Carefully slide in the new fuser.
Step Eleven: Fasten Fuser Screws
Lock the fuser in place by fastening the 3 screws.
Step Twelve: Reconnect the Fuser Cables
Reconnect the fuser cables on both the left and right sides, pressing them firmly to ensure they are securely in place. When reconnecting the wire harnesses, verify that the pin count matches and that the connectors fit securely into the port. Do not force the connector into the port.
Step Thirteen: Install Fuser Guide
Install the fuser guide and fasten the four screws.
Step Fourteen: Install Left Cover
While the rear door assembly remains open, attach the left cover by securing all the tabs. Once the tabs are in place, fasten the screw at the front. To make this process easier, start by attaching the cover at the rear and then gradually work towards the front.
Step Fifteen: Install Right Cover
Attach the right cover by securing all the tabs in place. Afterward, fasten the screws at the front and rear. To make this step easier, start by securing the cover at the rear and then gradually work your way to the front.
Step Sixteen: Close Front and Rear Doors
Next, close both the front and rear door assemblies.

Step Seventeen: Insert Paper Tray
Insert the paper tray and turn the printer on.
Order Your Replacement Parts Today!
Order the replacement parts needed for this step-by-step tutorial right here:
CF388-69008, RM2-6418, RM2-6418-000, RM2-6418-000CN, RM2-6460, RM2-6460-000, RM2-6460-000CN - HP - Fuser, 110V, Duplex
CF388-69007, RM2-1833, RM2-1833-000, RM2-1833-000CN, RM2-6431, RM2-6431-000, RM2-6431-000CN - HP - Fuser, 110v, Simplex
Follow Us on YouTube for More Tutorials
Thank you for completing this step-by-step tutorial! We hope you found it useful. Stay connected with us by following our YouTube channel and subscribing for more valuable content. We would love to hear from you, so please leave a comment.
Click here to view Item, Inc. YouTube channel.
Need More Help?
If you need more assistance, contact us. For sales, repair, or unsure about a part, call us, use our chat feature, or email us. We're here to help in any way!