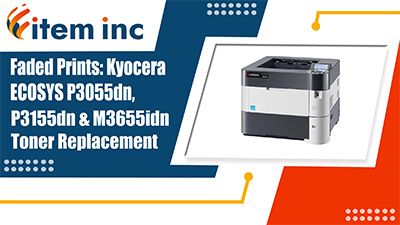
Faded Prints: Kyocera ECOSYS P3055dn, P3155dn and M3655idn Toner Replacement

A low toner cartridge can lead to faded prints that interrupt your workflow. This guide will walk you through replacing the toner cartridge, helping you maintain clear print quality, prevent issues, and keep your printer running smoothly.
The following tutorial is for these models:
Kyocera ECOSYS M3655idn
Kyocera ECOSYS P3055dn
Kyocera ECOSYS P3155dn
When Do You Need to Replace the Toner Cartridge?
If you're experiencing print quality issues, it may be a sign that the toner cartridge needs to be replaced. Below are common issues that indicate a potential problem:
Image is too light
The background is colored
Step-by-Step Guide: Replacing the Toner Cartridge
Prior to starting, it is imperative to remember power off the device and disconnect from its power source at the back.
This step-by-step tutorial will further break down the steps to remove and replace the toner cartridge for the Kyocera M3655idn, P3055dn and P3155dn. Let’s begin!
Step One: Power Off Printer
Power off the printer and unplug the power cord from the outlet.

Step Two: Open Top Cover
Open the top cover of the printer to access the toner cartridge.

Step Three: Unlock Cartridge Lever
Turn the toner container lock lever to the unlock position to release the toner cartridge.

Step Four: Remove Old Toner Cartridge
Lift the right side of the toner container first to detach it from the main unit securely.

Step Five: New Toner Cartridge Preparation
Shake the toner container at least 10 times to evenly distribute the toner inside.

Step Six: Installing Toner Cartridge
Align the toner container properly and securely install it. Avoid pressing too hard on the center of the container.

Step Seven: Lock Cartridge Level
Then turn the toner container lock lever to securely lock it in place.

Step Eight: Close Top Cover
Close the top cover securely to complete the installation.

Step Nine: Power Printer On
Firmly plug the power cable into both the printer and a power outlet. Then, turn on the printer using its power button. When the printer is powered on for the first time, it automatically begins the toner installation process, which takes approximately 5 minutes.

The Benefits of Replacing Your Printer's Fuser Unit
Replacing the toner cartridge (MPN: 1T02T90US1, TK3182, TK-3182) keeps your printer running efficiently, producing clean, streak-free prints. This is important for users who count on their Kyocera M3655idn P3055dn and P3155dn series printers for consistent and reliable performance.
Order Your Replacement Parts Today!
Order the replacement parts needed for this step-by-step tutorial right here:
1T02T90US1, TK3182, TK-3182 - Kyocera P3055 Black Toner Cartridge
Follow Us on YouTube for More Tutorials
Stay connected with us on YouTube for more valuable content.
Need More Help?
If you need more assistance with sales, repairs, or identifying a part, contact us.
