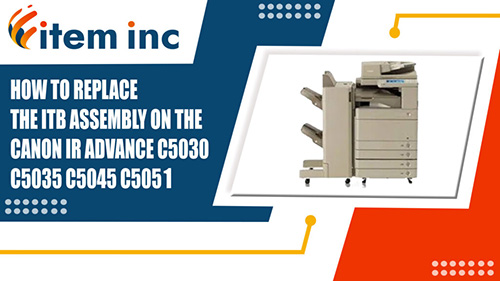
How to replace the ITB Assembly for Canon imageRUNNER ADVANCE C5030

Click here to view video version
Unsure how to replace the ITB Assembly on your Canon IR Advance? We'll show you step by step how to do this necessary maintenance to keep your unit running smoothly.
The following tutorial is for these models:
CANON imageRUNNER ADVANCE C5030, C5035, C5045, C5051
WHEN DO YOU NEED TO REPLACE THE ITB ASSEMBLY?
If you're getting error messages, this may indicate it's time to replace the ITB. Listed here are all the errors that indicate a problem:
E012-1000- Failure in rotation when ITB Motor is driven
E020-0081- ITB base light intensity lower limit error
E074-0003- Sensor Error
STEP-BY-STEP GUIDE: REPLACING THE ITB ASSEMBLY
Prior to starting, it is imperative to remember power off the device and disconnect from its power source at the back.
This step-by-step tutorial will further break down the steps to remove and replace Canon IRA C5030, C5035, C5045, C5051 ITB Assembly. Let’s begin!
STEP ONE: OPEN THE FRONT COVER
Open the front cover of your Canon printer gently to reach the ITB assembly area, preparing for the replacement process.

STEP TWO: LOOSEN THE ITB COVER
Find and loosen the two screws holding the ITB cover in place. Then, carefully slide the cover to the right and remove it, revealing the ITB assembly underneath.

STEP THREE: DISCONNECT THE ITB BELT
Remove the two connectors attached to the ITB belt by applying even pressure on both connector tabs to avoid causing any damage. (Note that it's unnecessary to reroute the cable as depicted in the video since it will come out with the ITB assembly.)

STEP FOUR: RELEASE THE ITB PRESSURE
Turn the ITB pressure release lever rightward, ensuring that the tab on the grip aligns with the triangle mark on the plate to fully release the pressure.

STEP FIVE: REMOVE THE ITB BELT ASSEMBLY
Carefully slide off the ITB belt assembly from its rail, paying close attention to not damage the belt film. Before pulling out the ITB belt, check that the ITB sub pressure release lever's arrow aligns with the triangle mark. Use the metal and plastic handles on the left and right sides, respectively, to slide the belt out evenly without tilting or lifting it at an angle.

STEP SIX: INSTALL THE NEW ITB UNIT
When installing the new ITB unit, align it with the two guiding positions at the leading edge of the rail. Note that aligning the left side might be slightly more challenging than the right side. Once everything is aligned, push the ITB unit all the way in.

STEP SEVEN: RECONNECT THE ITB CONNECTORS
Carefully reattach the connectors to the ITB unit, ensuring they're properly seated to avoid future errors. Place the harness back into its holder.

STEP EIGHT: SECURE THE ITB UNIT
Turn the ITB pressure release lever to the left to secure the newly installed unit. Finally, reinsert and tighten the two screws to hold the ITB unit in place firmly.

STEP NINE: REATTACH THE ITB COVER
Reattach the ITB cover by positioning it back in place and tightening the two screws to secure it.

STEP TEN: CLOSE THE FRONT COVER
Ensure the front and all covers are securely closed.

ORDER YOUR REPLACEMENT PARTS TODAY!
Congratulations! You’ve learned how to successfully and adequately replace and replace your ITB Assembly for your Canon IRA C5030, C5035, C5045, C5051. Great job!
FM4-8412-000, FM4-8412-010, FM4-8410-000, FM4-8384-000 - Canon - Intermediate Transfer Belt (ITB) Assembly
FOLLOW US ON YOUTUBE FOR MORE TUTORIALS
Thank you for completing this step-by-step tutorial! We hope you found it useful. Remember to stay connected with us by following our YouTube channel and subscribing for more important content. We would love to hear from you, so please leave a comment.
Click here to view Item, Inc. YouTube channel.
NEED MORE HELP?
If you need more assistance, contact us. For sales, repair, or unsure about a part, call us, use our chat feature, or email us. We're here to help in any way!
